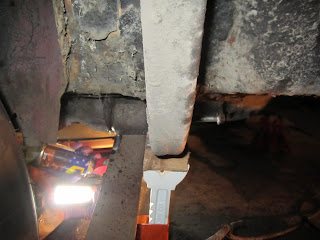
The majority of the work over the past couple days has been grinding... Here's the most recent shot of how the car looks:
But as you'll notice, we did also drop the rear! It wasn't incredibly hard, here's what we did:
1. Disconnect the Drive Shaft from the Rear:
This is pretty simple, you have 2 u bolts with 4 nuts holding the pin to the rear that slips into the drive shaft. Remove the nuts, remove the u bolts, and then let the pin hang for a second (it's much easier to remove the pin once you drop the rear since there's pressure there between the trans and rear):
2. Remove the Shocks From The Body:
The top bolt to the shocks is accessible from inside the car. Underneath where the rear bench seat goes there are 2 rubber covers, pull them up. Right under those you will see the nuts and bushings. Remove these, bag and tag:
3. Disconnect the E-Brake Cable:
From the front of the car you can see where the single cable comes down and has a bracket that turns it into 2 cables to run to the two drums. Disconnect this bracket and all the hangers holding the cables up. Lay down on the floor for now.
4. Rear Vent Hose (Housing to Body):
There's a hose coming out of the rear housing that runs to the frame rails, this is for overflow purposes, just pull it off and set aside.
5. Finally... The Leaf Spring to Body Brackets/Hangers
OK basically you have 1 very long bolt at the front of the leafs to the body for both leafs and 1 in the back of the leafs to a hanger, both bolts have bushings and are very tight. You need to put a jack underneath the leafs to raise up slightly to loosen the bolts.
Finally just roll the rear out of the way. We still need to dis-assemble the u-bolts and bracket that hold the leafs to the rear, but all in good time.
For now... We Grind/Scrape/Sand...


No comments:
Post a Comment