Wednesday, November 23, 2011

Nov 22nd - Day 95: Some More Interior Work

So as we approach the 100th day on the project I'm feeling really good. To date the car is almost completely disassembled and the front 1/3 of the body is completely re-built and ready to paint. However last night as we started to work under the dashboard it became pretty apparent that we could no longer ignore disassembling the electrical and various components under the dash.

Still under the dash we have:
- Windshield wiper motor
- Wiring
- Knobs and Ignition
- Stereo
- Glove Compartment
- Floor Dimmer Switch
- Brake and Clutch Pedal Assembly

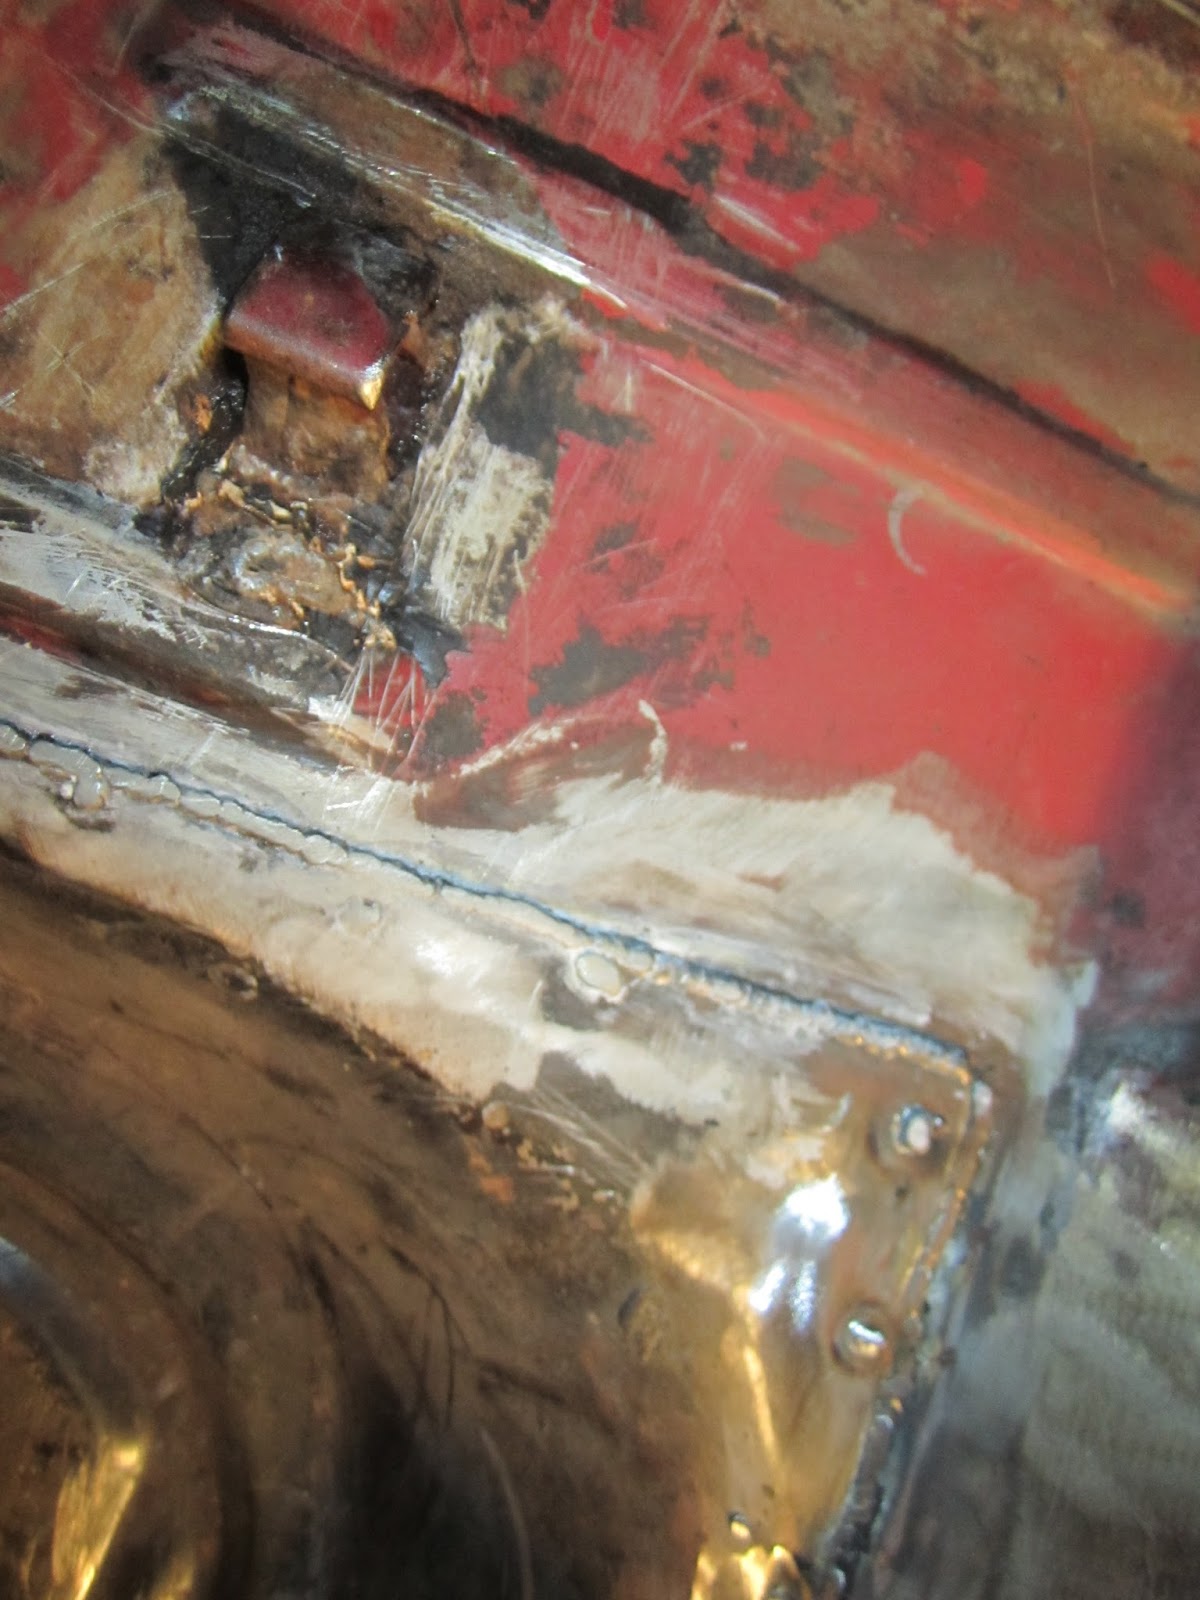
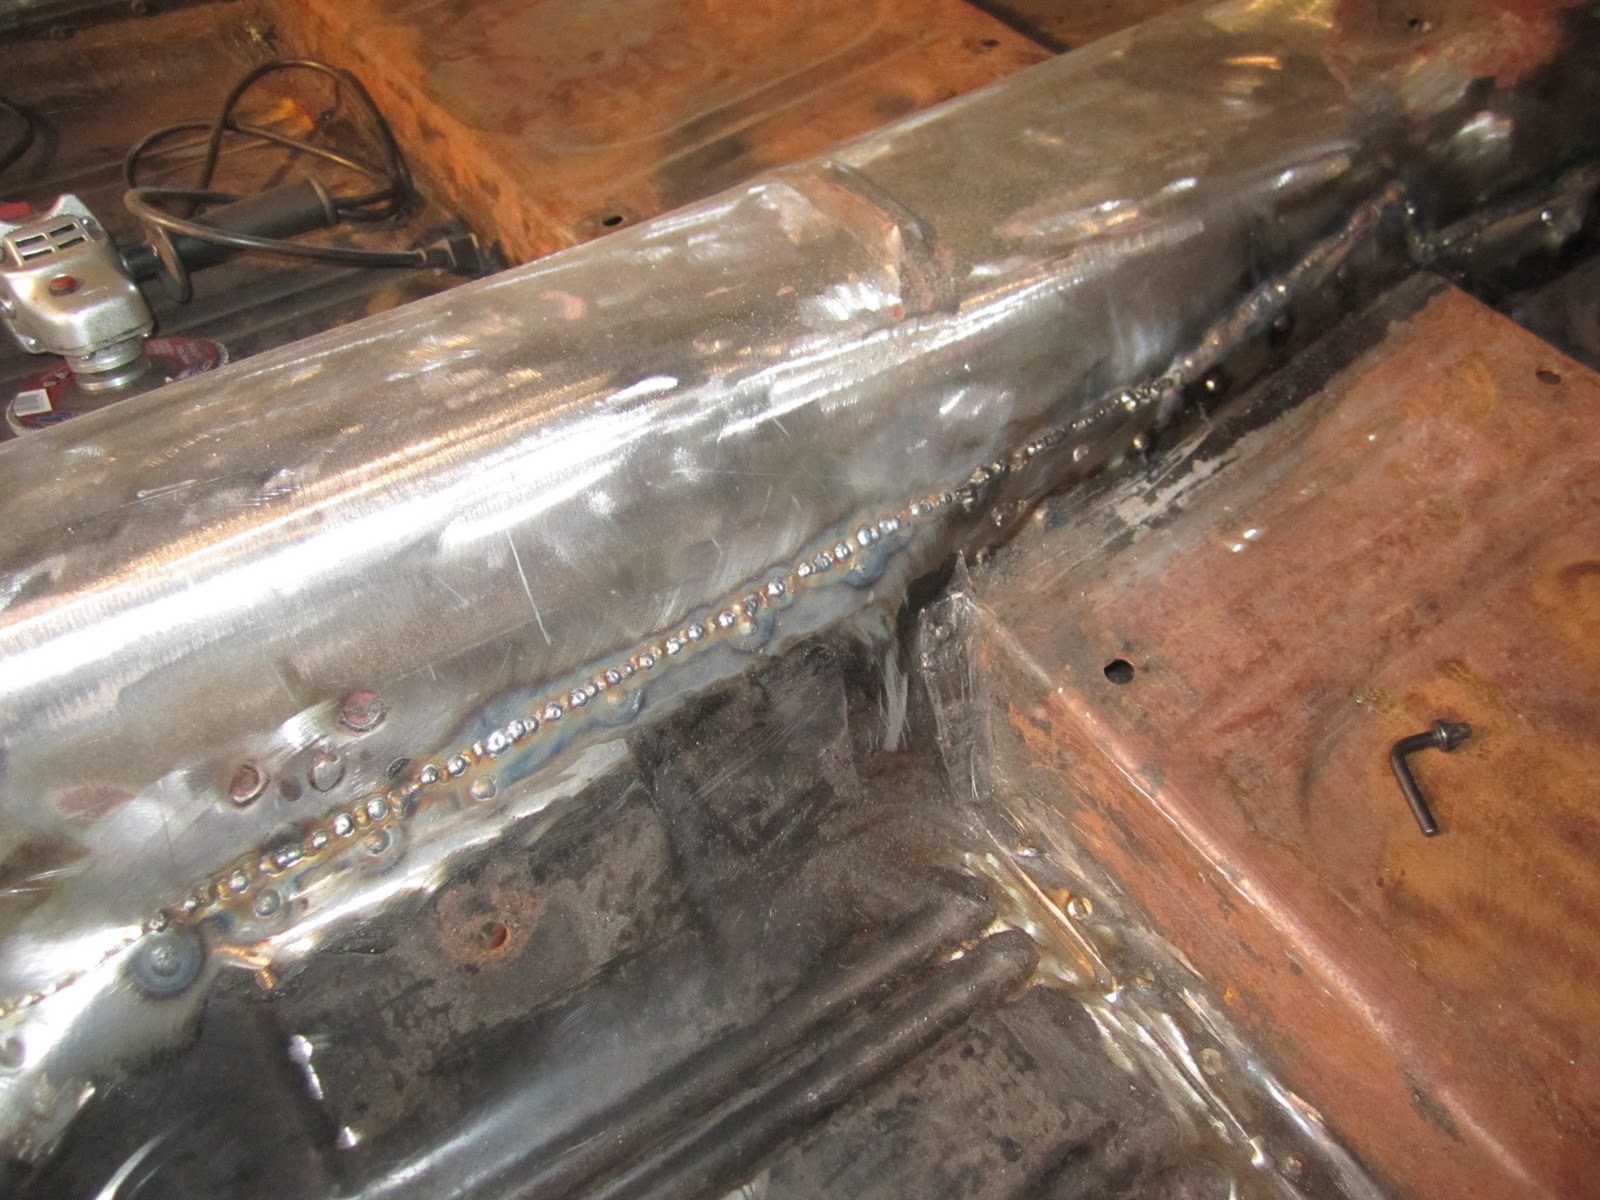
Jesse's coming back on Friday to work on the front interior underneath the dash. We have some rot to take care of around where the new(er) floor pans meat the old floor pans under the cowl area (dash area inside). Because of this it's essential that we get all the tar clear and anything in the way out of the way.

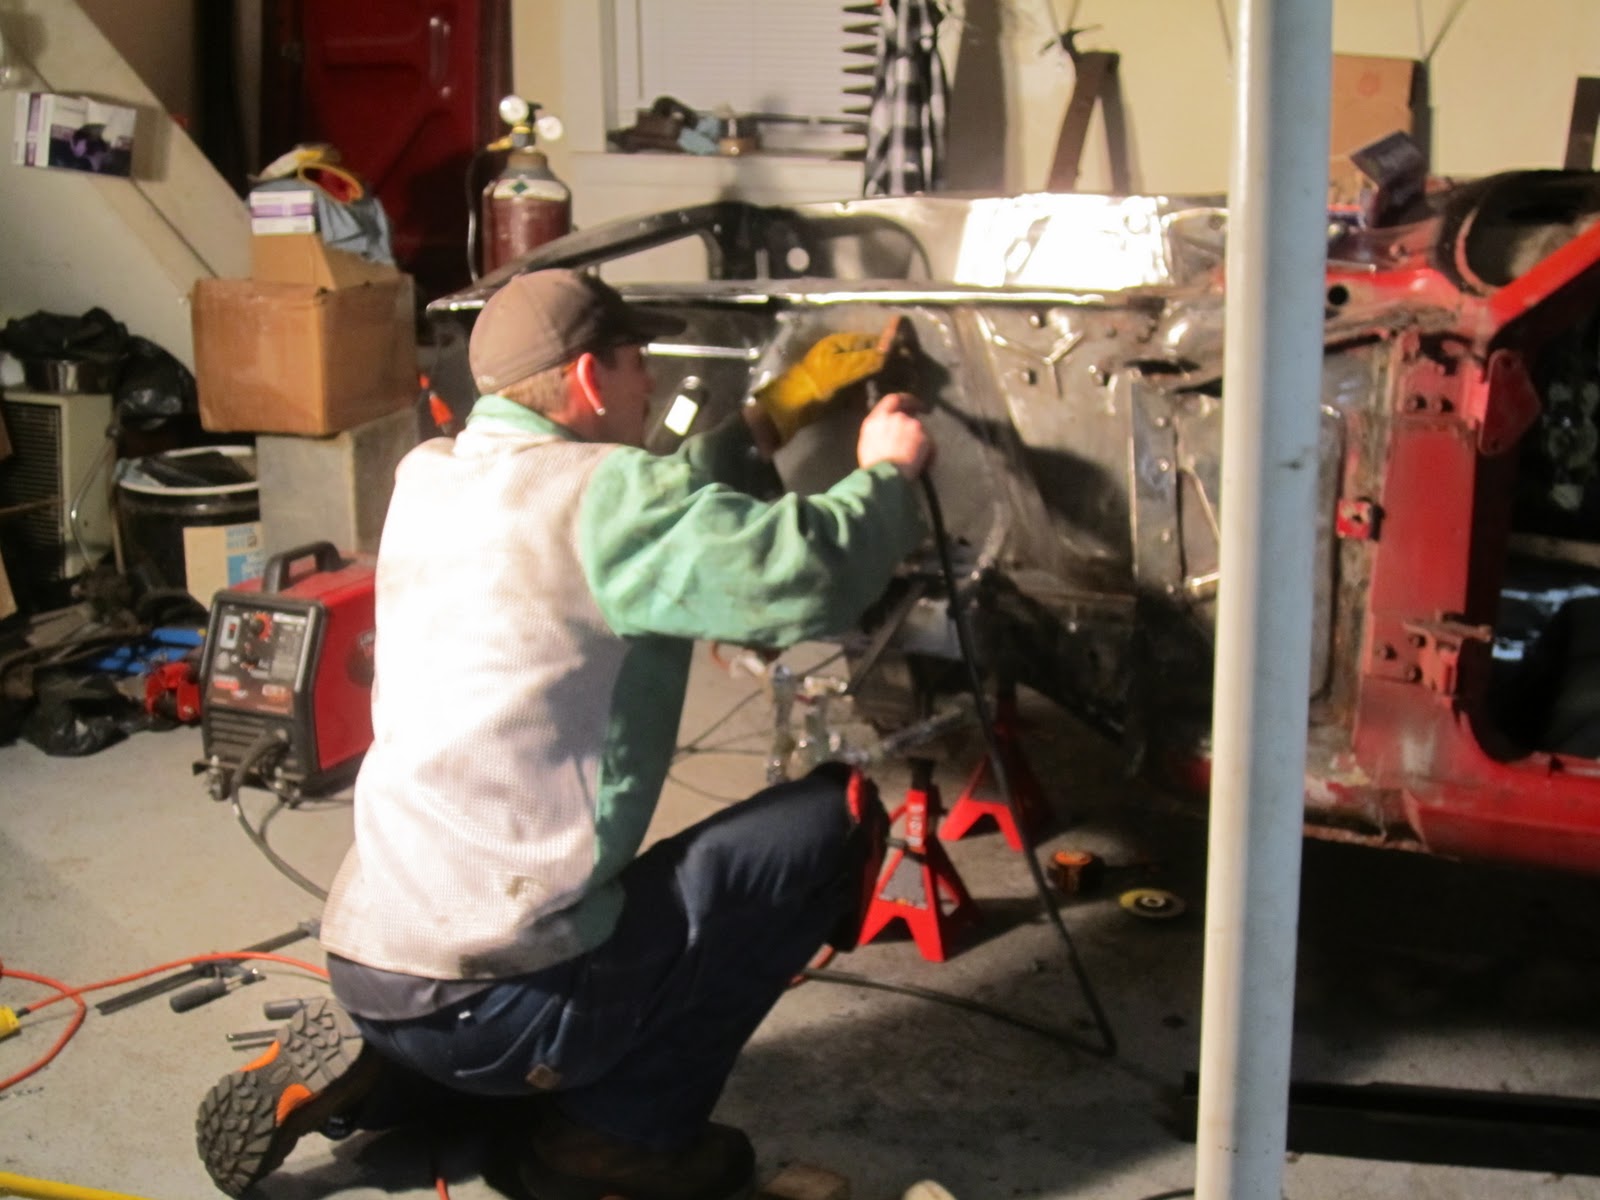
So last night (day 95) we did a little more disassembly!

1. Remove the Brake & Clutch Pedal Assembly

a. Remove the brake light sensor from the side of the brake pedal (slides off to the left when looking up).


b. Remove the assembly

1. There are 2 bolts with nuts at the steering column. NOTE. These are the same 2 bolts and nuts that hold the steering column bracket in place, we already had the nuts removed when we removed the steering column. Assembly must be replaced before column.


 2. There are supposed to be 4 bolts and nuts at the firewall side for the assembly. Mine had 2 left (the other 2 were removed when we removed the master cylinder), plus someone drilled in 2 sheet metal screws for support. Yeah I don't really understand why... We're going to fix that...


And here's what it looks like removed:


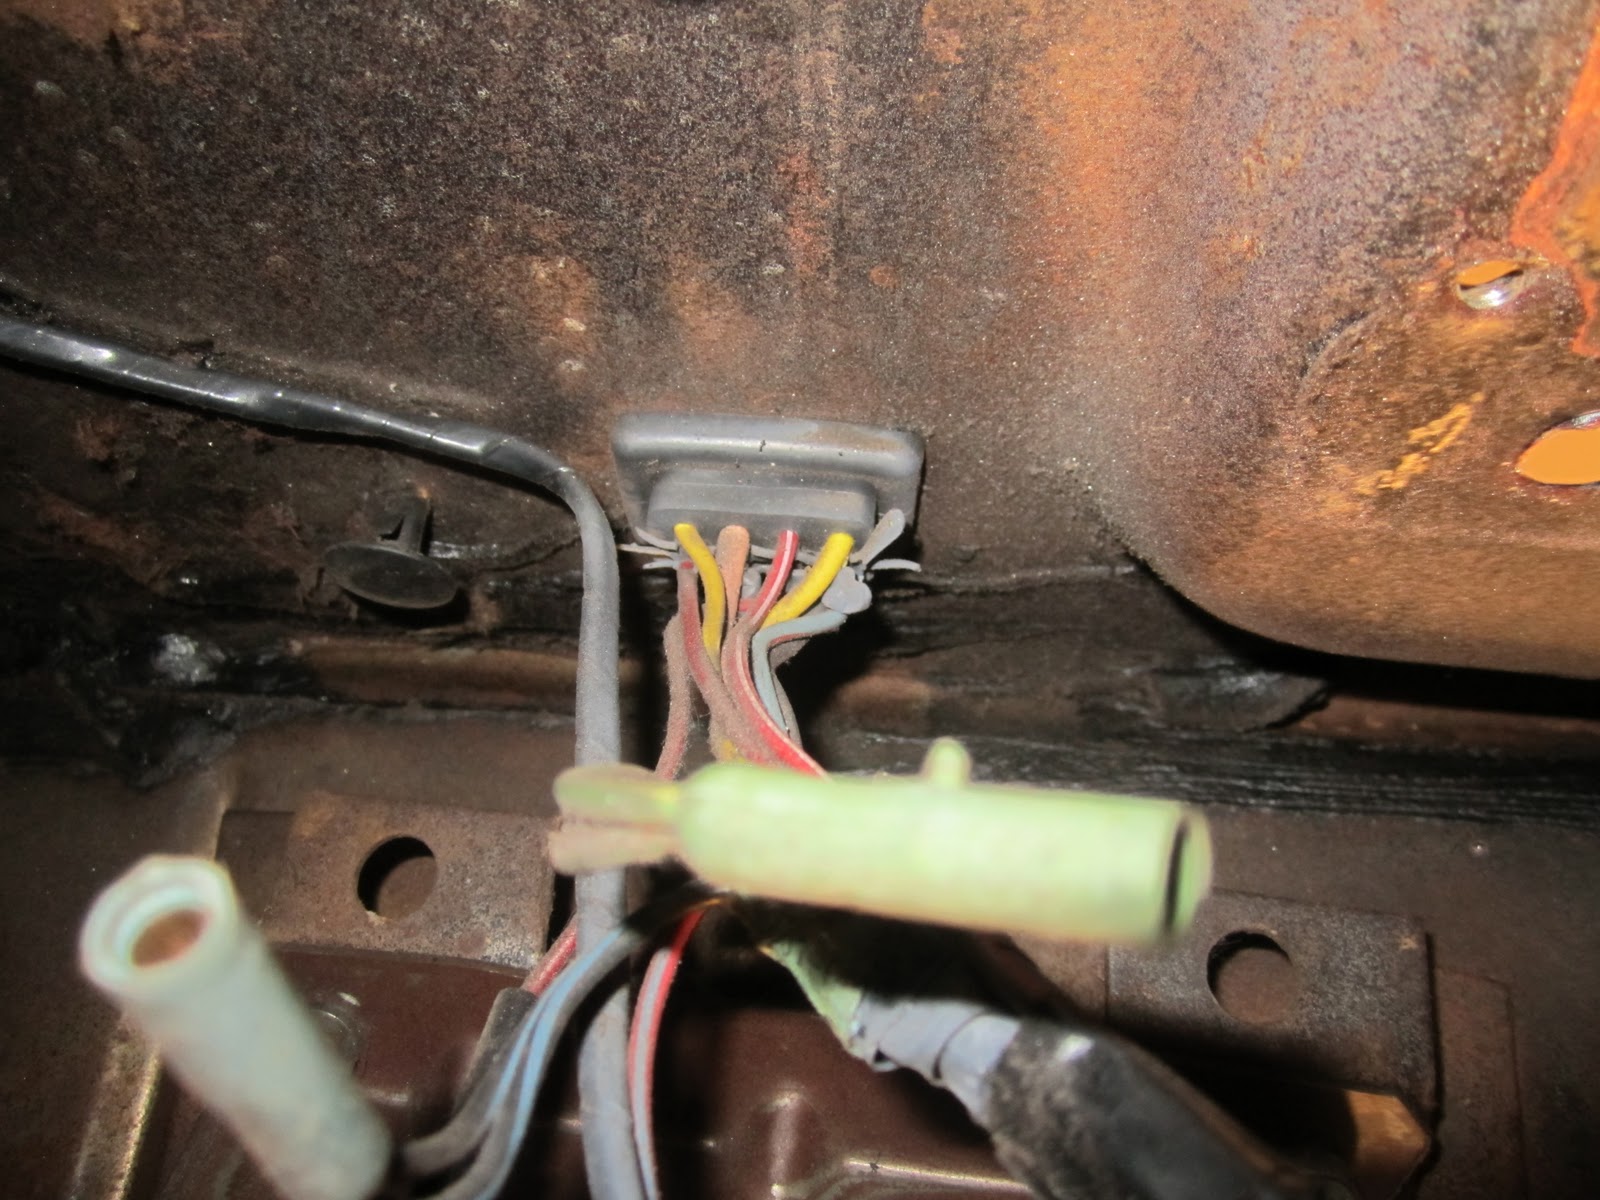
2. Pull Out the Wiring Harnesses from the Firewall:

There are 2 harnesses to the engine bay through the firewall. They have 4 metal clips on them that need to be pushed in and then the harnesses can be removed, pulled into the interior.


3. Remove the Floor Dimmer Switch (High Beam Switch)

Mine had 2 sheet metal screws through it. I'm guessing this wasn't stock like that, we will probably use a cleaner solution when we rebuild:


4. Remove Stereo (and ashtray):

Pretty self explanatory, we slid the ash tray out (leaving the assembly in place) so we could access the rear nut holding the stereo to it's mount and then removed that and the wiring harness (one piece)...

This was all done as a hack job obviously, the front box cut out is horrible. We may have to replace the whole dash or at least repair that section... For the look it would be nice to put an original stereo back in and then hide a better one, but I don't know if I care yet or not. I might just put a modern stereo unit in, it is a resto-mod after all...

Picture of back:


So after that we did a lot of cleaning on the floor pans, and like an idiot I forgot to photograph that afterwards... A LOT more to come this weekend. Really hoping to get those new floor supports in and some of the work inside under the dash/cowl area done... As we work from front to back, this car is taking shape FAST. I'm loving it!

Monday, November 21, 2011

Days 84 - 94: The engine bay has almost taken full shape!

So over the past week or so we did a lot more cleaning... we got most of the interior above the rear torque boxes done and cleaned, ready for the torque boxes to be removed and replaced.


Then Saturday Jesse came over and worked on the engine bay while Kevin and Brian worked in the trunk cleaning that up. Jesse got both aprons and shock tower panels welded into place!


Getting there! Working from the front back... this body is going to be sexy.

Thursday, November 10, 2011

Days 67 - 83: The 1.2.3!

So it's been a little while since I've last updated. I got busy IRL and had to take a major break, about a week and 2 weekends. For the past week we've been back at it though, cleaning all the seems so that this weekend Jesse can come and weld the new floor supports, floor pans, and some of the rear back together. We're also getting our plans together for replacing the rear torque boxes and a small section of the rear frame rails. After cleaning a lot out of the trunk I found that the whole trunk had been replaced along with the rear quarter panels... it's in pretty great shape, we're gonna make it all properly welded together and clean and then coat it with por 15.

But the cleaning... there in lies the issue. For a while now we've been grinding with grind pads but the tar just covers them and ruins them so quickly and it's becoming an issue of price on materials...

Well now I think we've figured it out. We bought a couple really awesome tools for the job. First scrapers... ok we've had them and been using them for a little while, but now we also bought torches! If you heat up the tar and then scrape it off you get AMAZING results... but it still leaves residue and does nothing for the rust. So we bought Naval Jelly. This stuff is incredible, I'm telling you. After we burn away must of the tar and scrape it off we put the naval jelly on the area and let it sit for 15 minutes... come back and wash it away with water and dry it down good... then after that you just grind away the excess and you get clean bare metal.

1. Burn and scrape.
2. Naval Jelly and scrape.
3. Grind that shit.

It works like a charm, now to do it to the rest of the center and rear of the car!


More to come!

Monday, October 24, 2011

Days 58 - 66: More cleaning/scraping/grinding, welding the floor pans, and the car claims another hand!

So for the past 8 days we've been on and off cleaning the car, this is taking forever. I guarantee you if i ever do another one of these I'm shipping it out to be blasted because this is just ridiculous.

We got most of the seams around the floor pan done. Basically at some point someone put in new floor pans and instead of welding it, riveted and bolted it into place. We wanted to get rid of all the rivets and bolts on this unibody and make sure that everything is welded instead.

Here's some pictures of that process:

The first thing we did was disassemble the upper part of the front suspension that we dry built. Since the lower A arm and strut are assembled, leveled, and lubed properly, we left them in place and wrapped them in foil so they wouldn't get damaged:


After that we spent some time working on cleaning the engine bay up and everything related to the floor pan seams:


We removed the "z clutch bar" bracket..


We also started to remove the rear torque box that's rusted out, we're gonna be replacing the entire thing on both sides. Basically creating a brand new front and rear and we'll hold them together with brand new frame rail connectors. This ensure that's all the weight of the car is being held up with all new suspension, all new rear, and all new frame rails and torque boxes, properly welded to the rest of the uni-body. No corner cutting here (well, except where we physically literally cut out the corners...)


Then Jesse came and welded some floor pans! Oh but about 30 seconds into hitting a spot with the grind wheel to clean...


The car claimed another piece of finger... haha

Here's what he got done after we wrapped that up:


After he started to weld the seams he drilled out all the old rivets and bolts and then welded the holes close. This week we will be grinding down his welds so once it's painted it will all look flush! No more frankenstein looking bolts everywhere!


That's it for now! More to come...