One nice thing is a lot of my tools and parts have started to arrive!


But here's what we got done on the car in the past 5 days!
1. Removing the Battery Tray:
OK so to remove the battery tray appears straight forward but it's not, especially in my case. Basically there are 4 bolts with nuts below the tray itself that hold the plastic liner to the tray, 2 of these bolts also hold the tray to the body. One is really hard to get at because of the tray arm, and a socket won't fit, sorry.

Now as you can see in the picture my tray is bad, once I got under those bolts and started trying to loosen the nuts they just started spinning. There's practically nothing up top to grab hold of either. So I cut out the plastic tray liner with a blade and pulled it out with vice grips.
After that I was able to get the nuts off the bolts but the tray to my surprise had been welded in. The previous owner attempted to do a patch underneath the tray but the rust had gotten out of control since that patch. We decided to scrap that whole area and just cut out the tray and the apron behind the tray. We will weld in new metal and then get a new tray and bolt that on when the time comes.


2. Passenger Side Bumper Mounts:
With the battery tray out of the way the bolts/nuts for the bumper mounts were much easier to access (follow the instructions on the post before this one for the drivers side bumper mounts, same process)
3. Grinding, grinding and more grinding:
OK so once you have enough of the under body and front end exposed you gotta start to expose the bare metal to find out exactly what you need to patch and repair. All of our front end was covered with a tar type undercoating so basically here all you want to do is grab as many people as possible, some 40 grit sanding discs, a couple grinders, and get started:


4. Removing the Shock Tower Cover
Use a 1/2" socket with a 1/2" wrench, there's 8 bolts with nuts total, someone must hold the inside of the engine bay (bolts) and someone must remove the nuts from the outside.


Front Suspension:
OK so this was a bit of an interesting process, it involved a lot of hammering and working around problems. Almost all of it clearly hasn't been replaced in a long long time, so getting it off was rather difficult
5. Remove the Tires
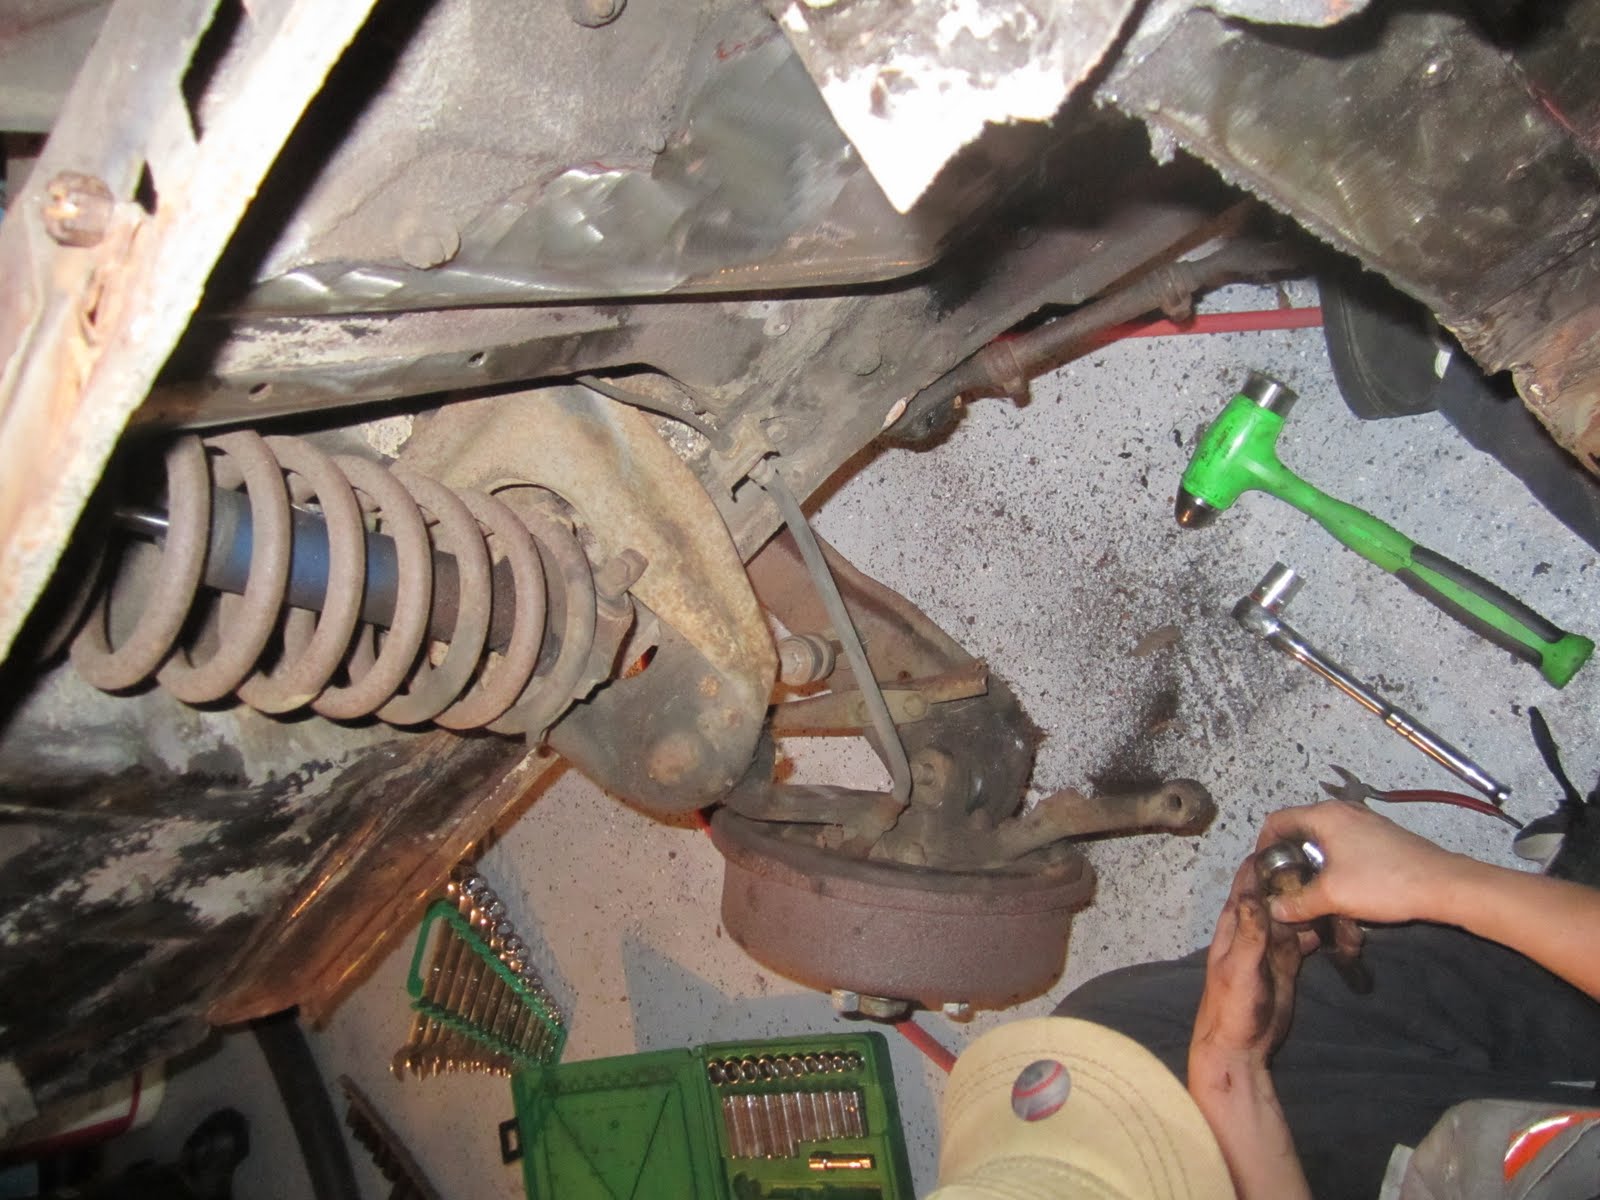
6. Remove the Shock and Coil:
Remove the shock from the top of the strut tower first, then from the upper control arm:


7. Remove the Upper Ball Joint
Start by removing the cotter pin holding the bolt in place, then remove the big bolt nut underneath the ball joint, finally... hit it with a hammer a lot.
8. Remove the Tie Rod
There's a bolt and nut at either end (inside and out) of the tie rod with a cotter pin. Remove those and the grease boots.
9. Lower Ball Joint
Same as upper
10. Sway Bar
Unbolt from lower control arm


11. Directly underneath that there's another support bar, we're not sure what it's called, I'll update this later, but it's bolted in twice to the lower control arm, and once with a bushing to the body as seen here:

We removed it from the body as you can see and left it connected to the lower assembly which we removed all at once.
12. Cut the Brake Line
All of this is being replaced anyway, no need to be ginger:
13. Lower Control Arm from Body
There's a beefy bolt and a bushing, just needs a lot of pressure and it will pop off.
14. Upper Control Arm from Body
2 bolts inside the engine bay:


And that's it!

Continue grinding.... Grind all the time!
No comments:
Post a Comment