1. Windshields (Front and Back)
The first thing to do was to research how to remove the windshield. I have an advantage here because I am replacing all weather seals, but I really wanted to keep the glass. It's original and in great shape.
Here's what I found:
This video walks you through the entire process. It stresses the importance of not destroying the chrome trim but if you're willing to replace it as well as the seal (weatherstrip) it doesn't matter much.
http://www.youtube.com/watch?v=bRJf5Ow4YbU
There's also some good tips here:
http://www.allfordmustangs.com/forums/classic-tech/236735-1966-mustang-coupe-windshield-removal.html
and
http://www.ehow.com/how_6165623_windshield-removal-1966-mustang.html
OK so getting started, the first thing we had to do was remove the windshield wipers:

It's pretty simple, there's a clip underneath that you have to pop off with a flat head screwdriver.

Once the clip is off, the entire wiper can be removed. Mine were stuck on but you don't want to pry too hard or else you could damage the body of the car. We used a pair of needle nose pliers and grabbed from underneath. Pull up and they're off.
Next is the windshield. So if you watched the video above (and you should) you know that there is basically 4 things going on:
1. There's a big piece of tempered glass
2. There's a rubber gasket that wraps around the glass on both sides and is glued to both the glass and the body of the car (plus after years of heat it's melted tight)
3. There's the chrome trim
4. There's the clips that hold the trim to the car (which holds the window between the trim, rubber seal and the car).
The first thing we did was get our tools together, here's what you need:

Tools
1. Window scraper tool to get under the rubber seals
2. Light to see under the seals for the clips
3. Needle nose pliers to pull out rubber and later the clips
4. Small and large flat head screwdrivers (as thing as possible) for prying clips and digging out rubber
5. Straight blade for digging out/ cutting rubber
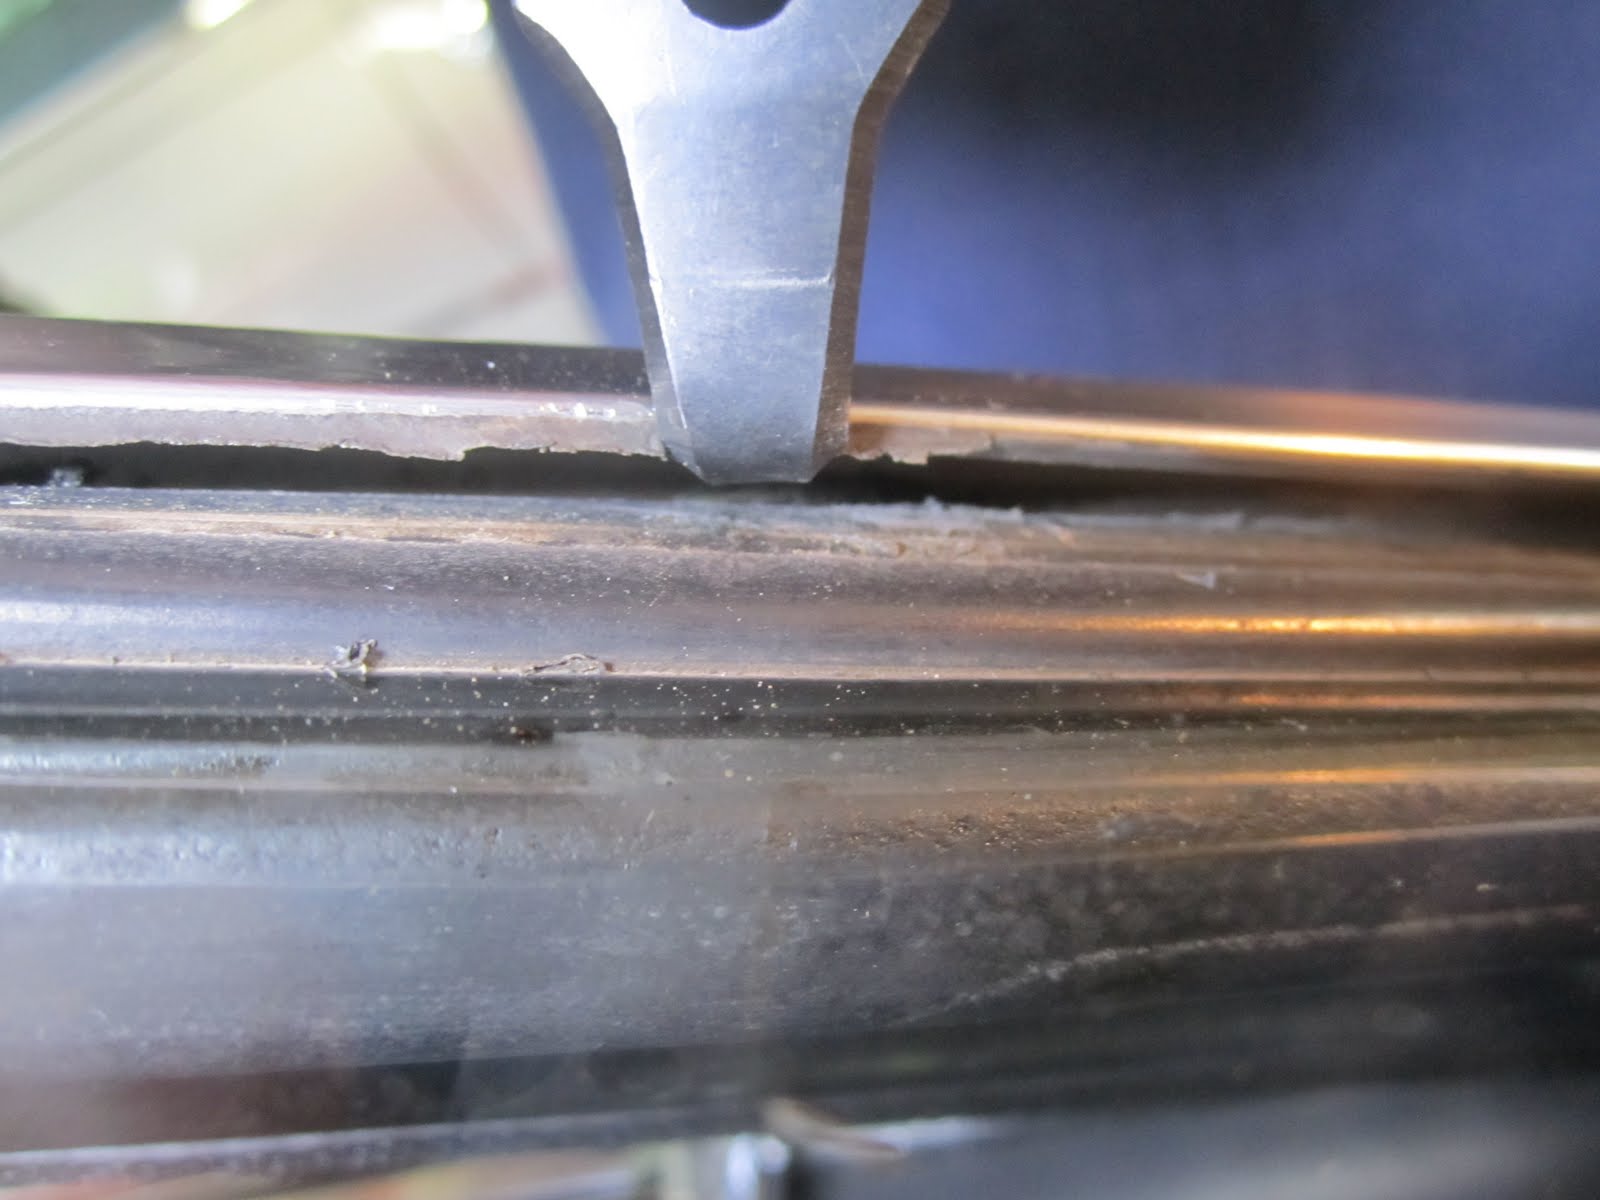
6. Windshield removal tool. It's badass, basically it's a sharp point with knife like sides that allow you to cut into the rubber in all directions and pull the clips back.
Process
1. Remove as much rubber seal as you possibly can (obviously only if you plan on getting new rubber seal). The rubber seal is pretty cheap and if you're doing a complete re-assembly you can buy kits with all of the weatherstripping for the entire car for a couple hundred bucks. It's worth it:


2. OK once you have as much of it ripped out as possible you should be able to see the clips, pry the trim up slightly being careful not to bend or break them. Get under the trim with the windshield removal tool and a small thin flat head screwdriver. Pry the clips back to release the trim as carefully as possible. Note: there are 22 clips in the front, 3 on each side and 8 on the top and bottom:


3. Clean up all the excess rubber from the front of the windshield so that you can have someone inside push the glass out. Once the glass is out remove all the rest of the rubber and toss it. Place the windshield somewhere safe:


4. Repeat the process on the rear windshield:


2. Rear Speaker Assembly and Shelf
Basically on mine it's all trash, the speakers are destroyed and so is the vinyl and the wood shelf. Not too expensive to replace so we just ripped it all out and tossed it.


3. Remove the sun visors, rear view mirror and coat rack hangers
Pretty straight forward, there just held by Phillips screws. Bag and tag everything.


4. Door Side Weather Strips and Trim
Just pull it off (needed to get to headliner)

5. Finally, the headliner
Finally ready to pull the headliner. Since I'm replacing it I can just tear it and the insulation down, but you must be careful to not break any rods as they're probably still good and can be re-used. There are 4 rods and 2 supporting hooks in the back, as you pull them down label them 1-4 starting from the front.


And that's it for today, thanks for looking!

Great how-to and thanks for the youtube link!
ReplyDeleteThanks man! I'm glad I could help.
ReplyDeleteGreat write-up, I am a big believer in commenting on blogs to inform the blog writers know that they’ve added something worthwhile to the world wide web!.. Audi Windshield
ReplyDelete